Winter STEAM Workshop
A week of making and gifting at Pacific University

In this Workshop
we combined science, technology, engineering, art, and math in a variety of ways. Gift projects draw from the concepts of waves, color mixing, binary code, and chemical reactions. Technology is used to copy original artwork onto different materials (cnc router) and to explore digital design for 3D printing (tinkercad).
Major concepts:
- Color mixing
- Waves (light and sound)
- Binary "code"
- Force & tension
- Metric measurements
Color mixing
Color was a central theme throughout the week so we started talking about color mixing on day one. The primary pigments: red, yellow, and blue, can be mixed in pairs to create secondary colors: orange, green, and purple. While the three primary and three secondary colors provide an adequate palette for most work, we emphasized art that makes exclusive use of intermediate colors. In particular, we use Grant Wood as an example of an artist who is known for working with intermediate colors. As the painter of American Gothic, his work is widely known, but the specific color aspects are not usually discussed. Applications of color mixing included hand-dyed yarn, color-mixed pigments for hand-painted wrapping paper, rock candy colors, and a later study of LED color mixing and filters.
Waves
The scientific aspects of color mixing were discussed in terms of waves, measured by wavelength and frequency. Waves made several appearances throughout the week: sound, light, radio, earthquakes, speakers, and several others.

Binary code
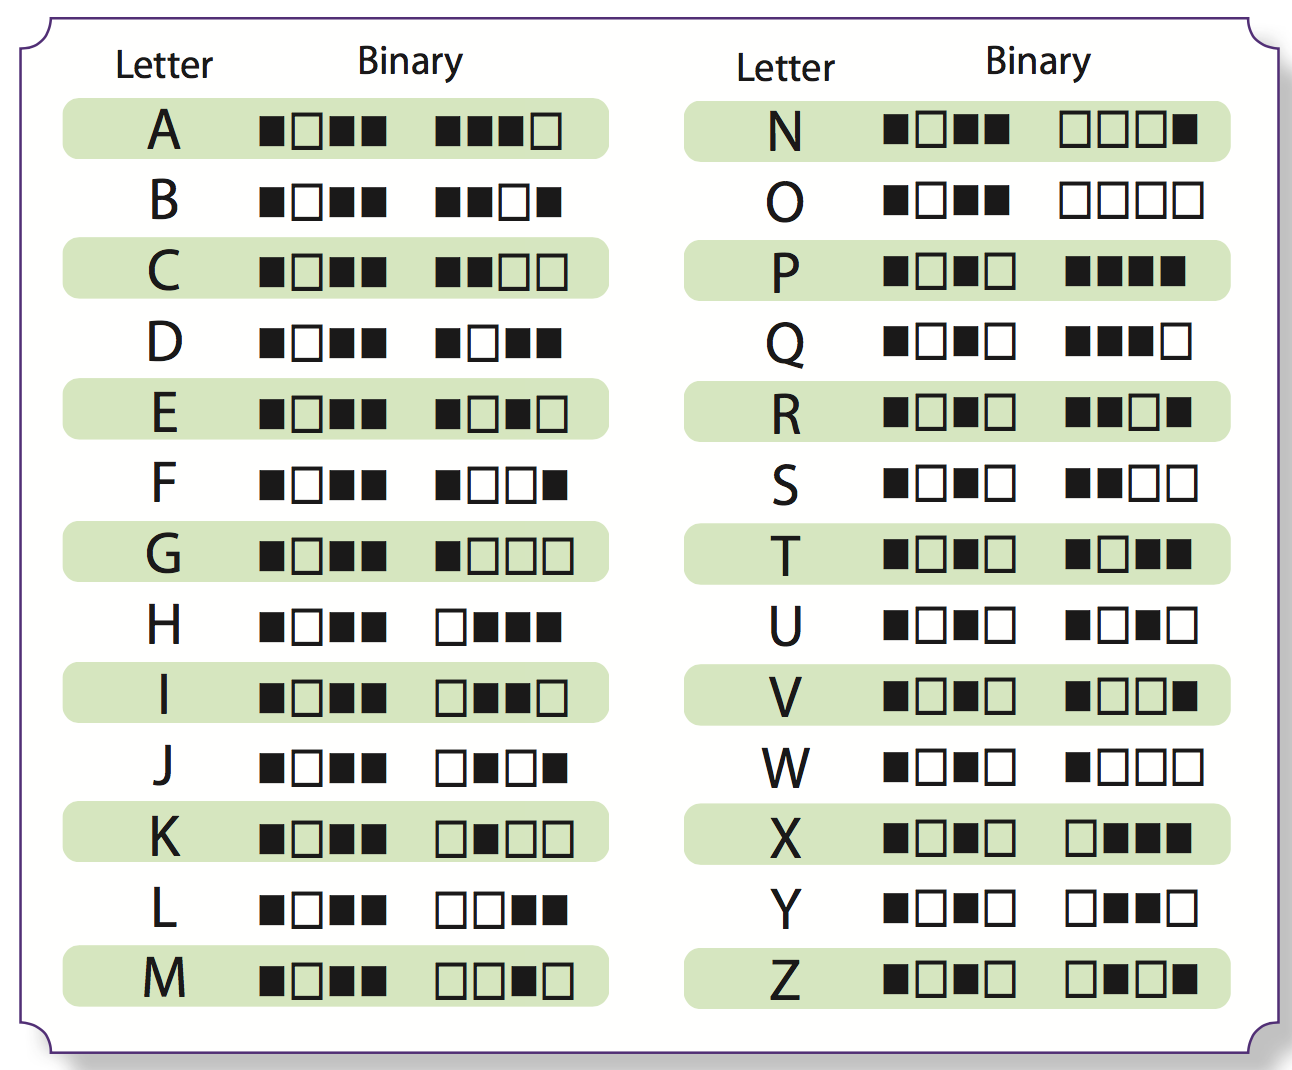
To introduce the concept of binary numbers, we followed a lesson developed by Thinkersmith (from Euguene OR). The main idea is to represent letters using ASCII (the standard computer code for the alphabet and other symbols). To do this, we first learn how to represent each letter using eight 'bits' (one/zero or colored-in/blank). The decoder card is shown here, and students practiced coding their initials and then moved on to coding with beads. Several projects and gifts used these ideas.
Each letter in the alphabet is represented by eight bits. Each bit can be a bead of a specific color. Use this decoder chart to decode beaded messages.

Galaxy tiles

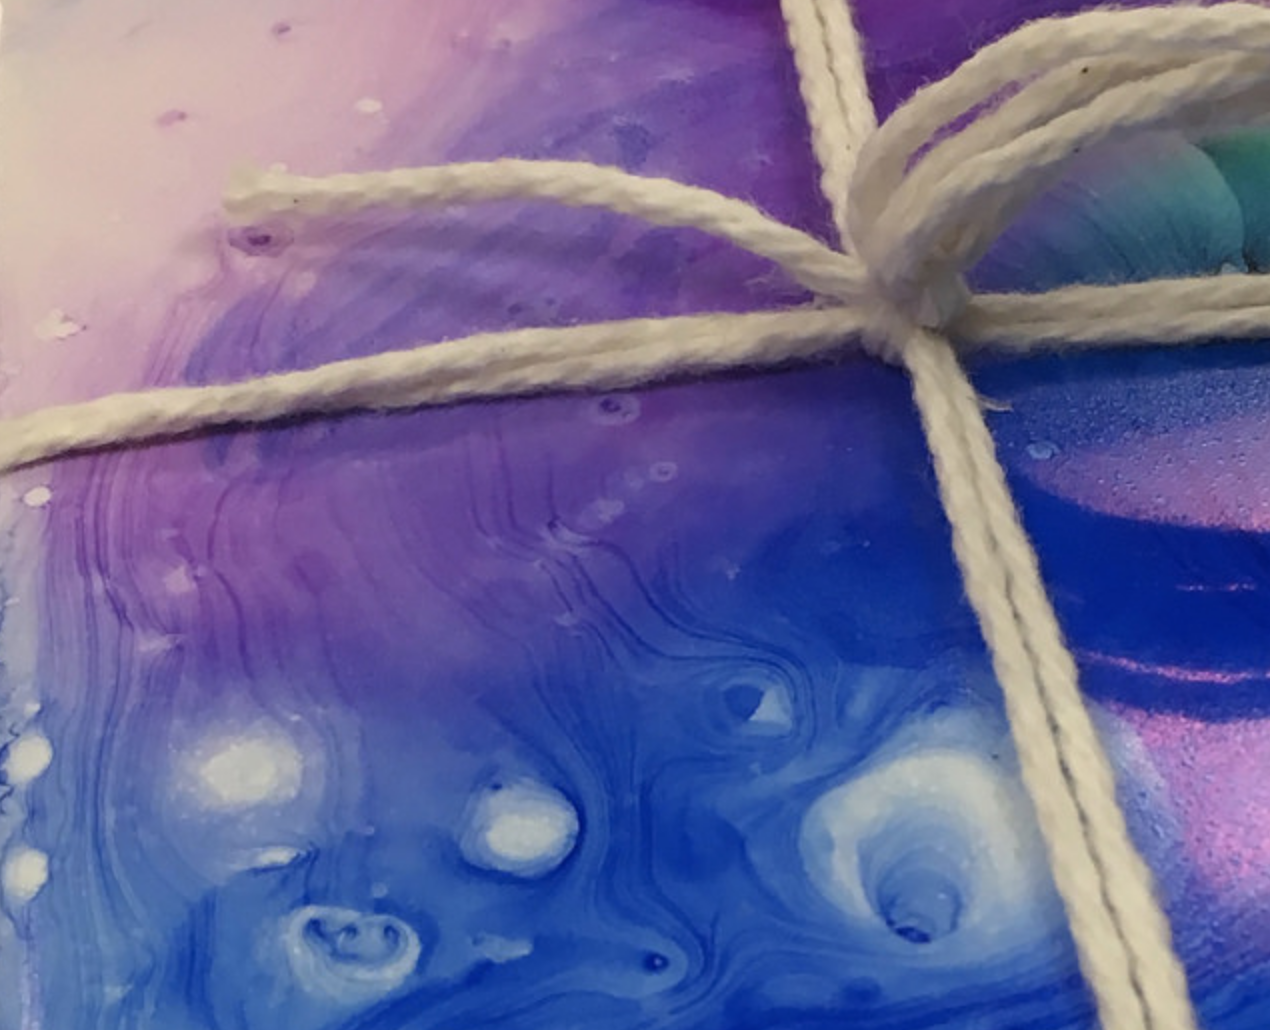
By combining color mixing concepts with the chemistry of solvents, this project creates patterns of permanent color on ceramic tile. Finishing touches include felt feet and a spray-coat of protective lacquer. Your child can explain what colors they started with and how the pattern evolved with the addition of solvent.
Sharpie marker applied to a white tile. Isopropyl alcohol works as a solvent to blur the marker and let colors bleed together.
3D Printer
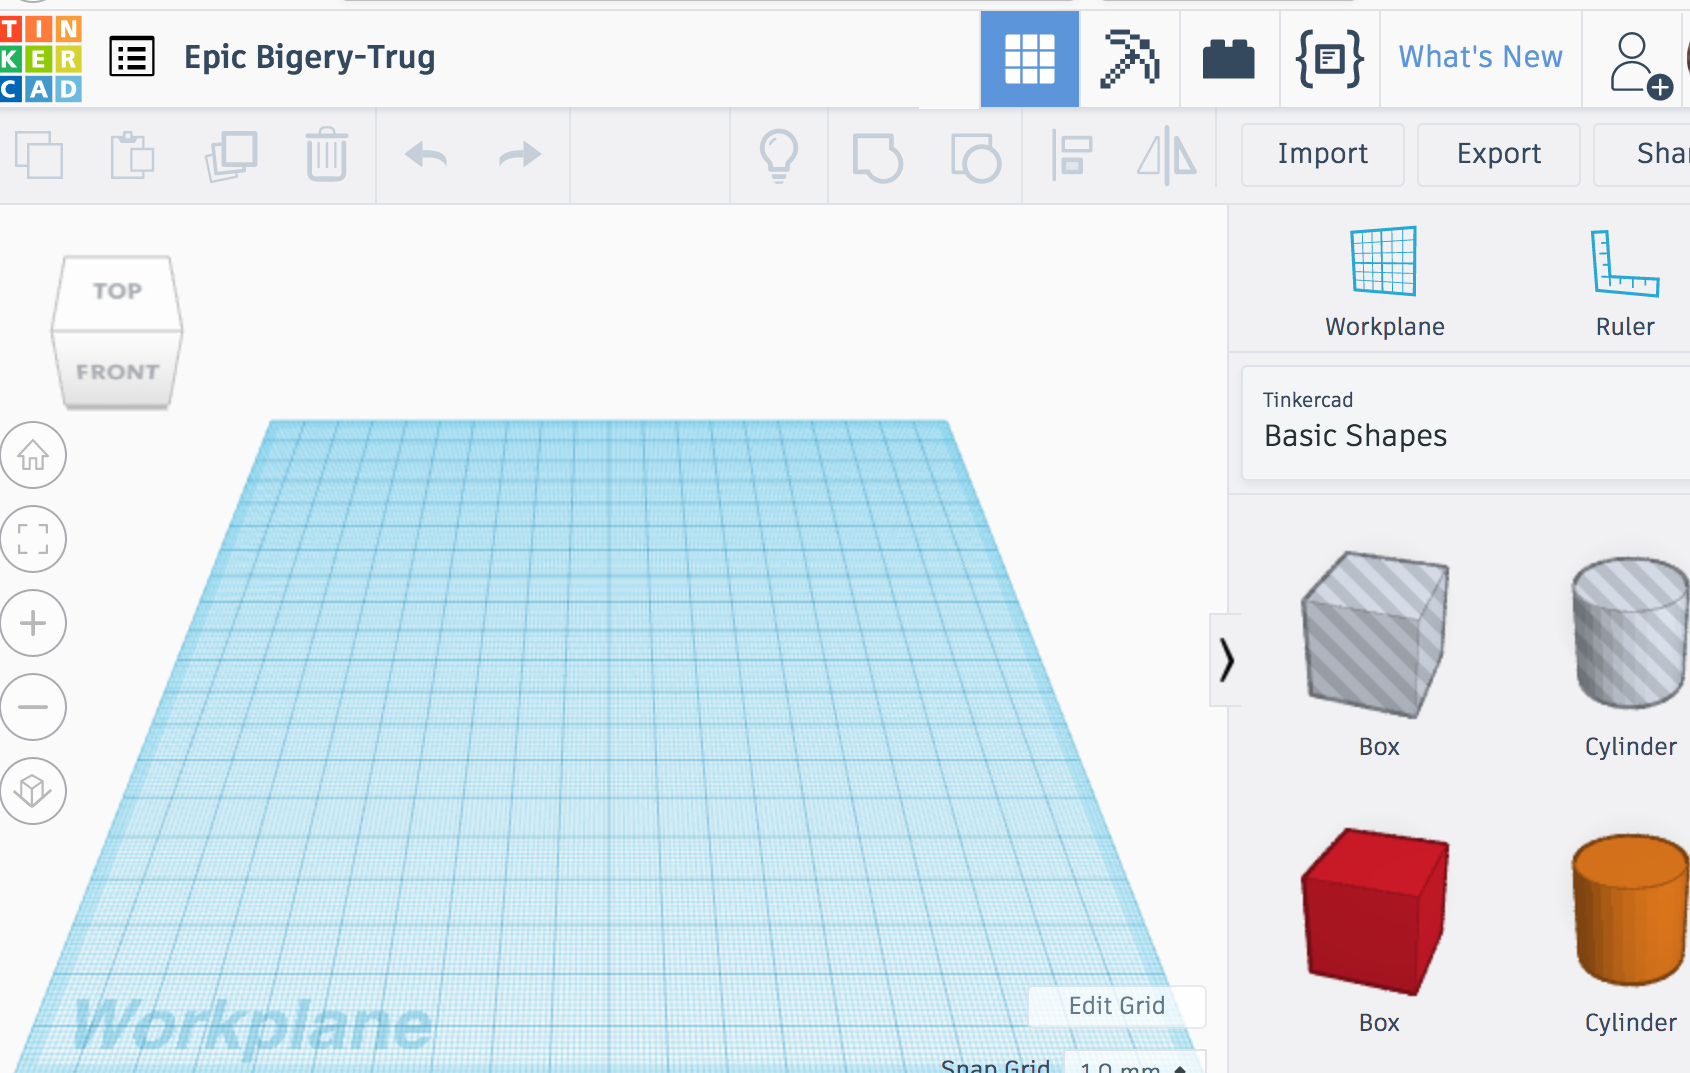
The 3D printer is always an exciting opportunity to make custom objects. With 16 campers, our challenge is making sure everyone gets to take home a printed object before printing duplicates. If your child didn't get everything printed that they wanted to, we can continue to print objects designed in tinkercad and make arrangements to get them to you. Additionally, we encourage your child to continue to use tinkercad for design projects; it provides good practice with 3D concepts like perspective, scale, and structure.

CNC router

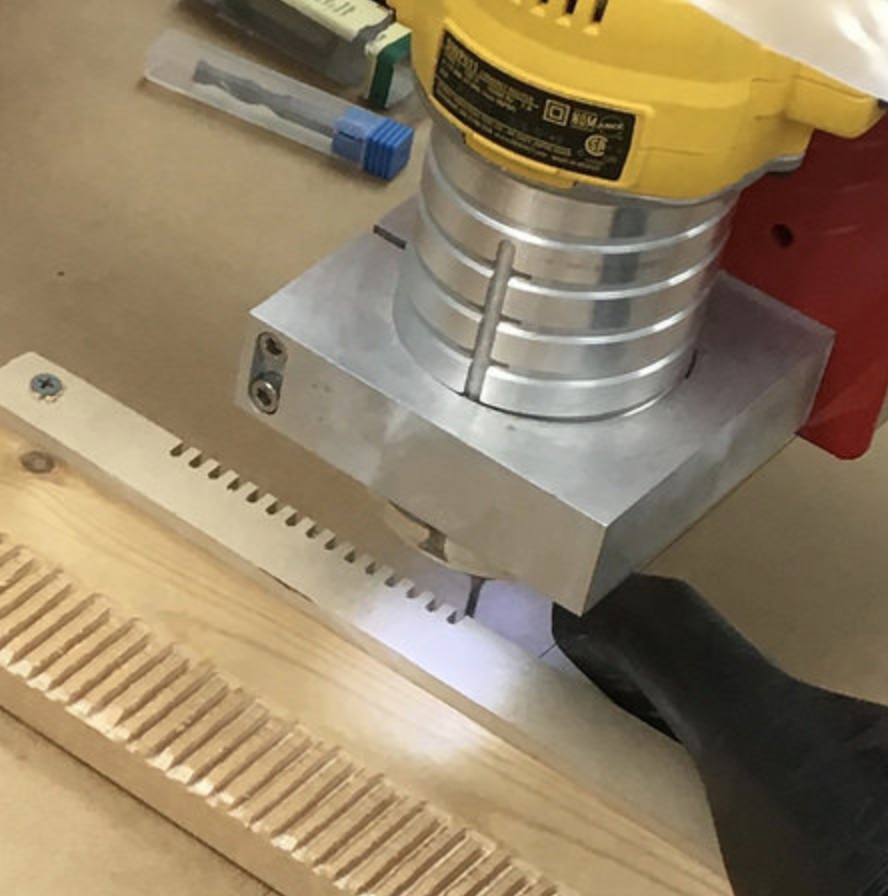
For the CNC Router, students created original line art to engrave on wood. We converted the drawings to digital files, and programmed the CNC router to carve them into wood panels or picture frames. The focus is on preserving original artwork so drawing accuracy and spelling weren't a concern; we recognize the wide range of ages in the camp, and focus instead on the design process that starts with original art and results in a finished product. We also used the CNC router to make wooden loom frames for weaving hand-dyed yarn. This is an example of mixing high-tech and low-tech to accomplish a project (a theme we bring to several projects during the week).


Amplifier Circuit

This circuit gives students practice constructing circuits with the electronic breadboard (shown as white here, but blue in their kit). They are also introduced to integrated circuit chips, schematic drawings, and multipin connections. While we've talked about and used these ideas in this project, please keep in mind that this is often the first time students have seen these ideas. We aren't aiming for mastry at this point, but we feel that introducing these topics as early as possible is best for kids so that they will be familiar when the concepts come up again. Even college students struggle with circuits like this, so it's ok for it to seem hard or not make sense. We want kids to realize they can build complex projects like this when they listen to and follow instructions, ask questions, and just git it a good try. If wires come undone, or things stop working, this circuit drawing is a good reference for how it should look.
